What Pen Is Used For Calligraphy
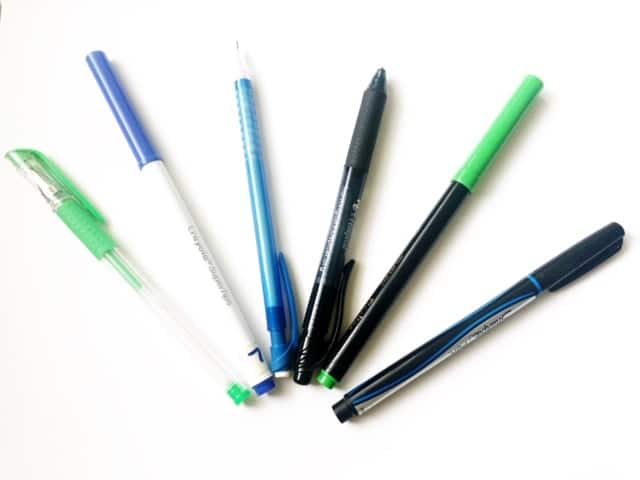
Are you a newbie into Calligraphy or lettering? Or you barely learned about calligraphy and want to get started? Well in this calligraphy step by step tutorial I am going to be talking about what pen is used for Calligraphy?
Anyway, of course, there is a big option in what type of pens but here is just a short answer to your question and then we will go off from there.
The type of pens that are used for calligraphy could be fountain pens pointed pens, pens with many different nibs,etc. It mostly has to deal with the type of calligraphy you are talking about. For example, in brush lettering, we use a brush pen. There is a variety of pens used in different types of lettering.
Now that you have learned that let me give you a brief summary of what we are going to be learning today:
- Different Brush Lettering Pens
- Calligraphy Pens
- Lettering With Regular Writing Utensils
Now let us get started
Different Brush Lettering Pens
There are two main types of brush pens. One is a felt tip brush pen and the other is the bristle tipped brush pen. The difference is one is made with felt and the other one has actual bristle like a regular brush.
A lot of people use the felt tip brush pens (which I agree with). It could be very hard to learn how to control all of the different bristles while learning how to control the felt tip is much easier.
Felt tip brush pens are a great utensil for beginners who are wanting to start out into calligraphy.
So what brush pens should I get when starting out lettering?
Well here are my top brush lettering pens for beginners
If you want to learn how to do calligraphy with Tombow Dual Brush Pens click here.
Another way to do brush lettering is actually with a regular Crayola marker witch I am going to be talking about in the third section of this article.
Calligraphy Pens (DIP PENS)
Any way again there is a whole entire different type of dip pins and if you want to get the full guide here is another blog post by Mirabelle: https://www.mirabellemakery.com/blog/guide-dip-pen-calligraphy-nibs
Anyway, there is a lot of different dip pens that you could choose from and it very important to choose the right one.
There is the number one thing you should consider.
The nib shouldn’t be too flexible that it is hard to control
So how are you going to know if any of these nibs are going to be right for you.
Well I am going to link some top nibs for beginners.
The Top Nibs For Beginners
After getting your nibs you are of course going to need some holders.
- Straight
- Oblique
Calligraphy With Regular Writing Utensils
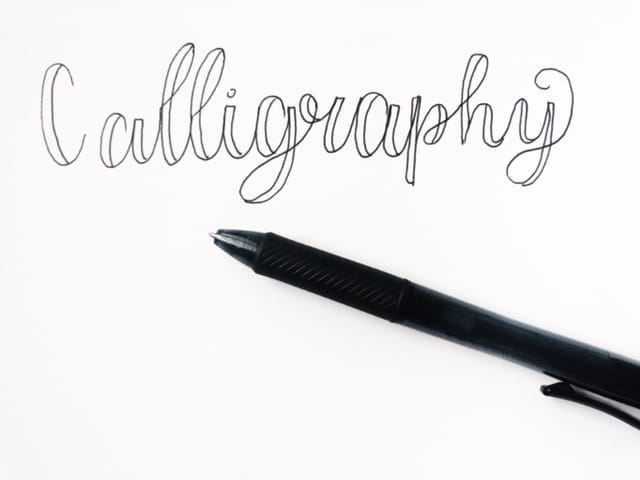
I have done a lot of different articles already on doing calligraphy with many different utensils witch I will be linking.
Here are a few things that I am going to be talking about right now:
- Lettering With Regular Crayola Markers
- Lettering With Regular Pencil
- Lettering With Pen
- Chisel Tip Marker Calligraphy
- Lettering With Sharpie
LETTERING WITH REGULAR CRAYOLA MARKERS
Lettering with Crayola markers is actually not that hard. I already did a full tutorial on it if you want to check it out here.
But anyway when it comes to doing this the basics are for you thin strokes you put less pressure but for your downstrokes you put more pressure.
This leads for line variation.
In this tutorial, I also talk about what you need to practice, how to hold your marker, etc. So don’t forget to check it out.
Next…
LETTERING WITH REGULAR PENCIL
Can you believe that you can start lettering with just a regular utensil that you use every day? I have also done a tutorial on this that you can check out here.
This is very similar to learning calligraphy with Crayola markers.
To be able to get your thick downstrokes you are going to put more pressure on your pencil and then less pressure for your upstrokes. Leading for you to be able to learn calligraphy.
Well, this is not all that you are going to need so check out my tutorial.
LETTERING WITH PEN: FAUX CALLIGRAPHY
So what is faux calligraphy? Faux calligraphy is basically considered fake calligraphy, hence the name, this just means you use a regular pen to get the look/feel of real calligraphy.
Faux calligraphy is also considered hand lettering.
Again I have a more in-depth tutorial here.
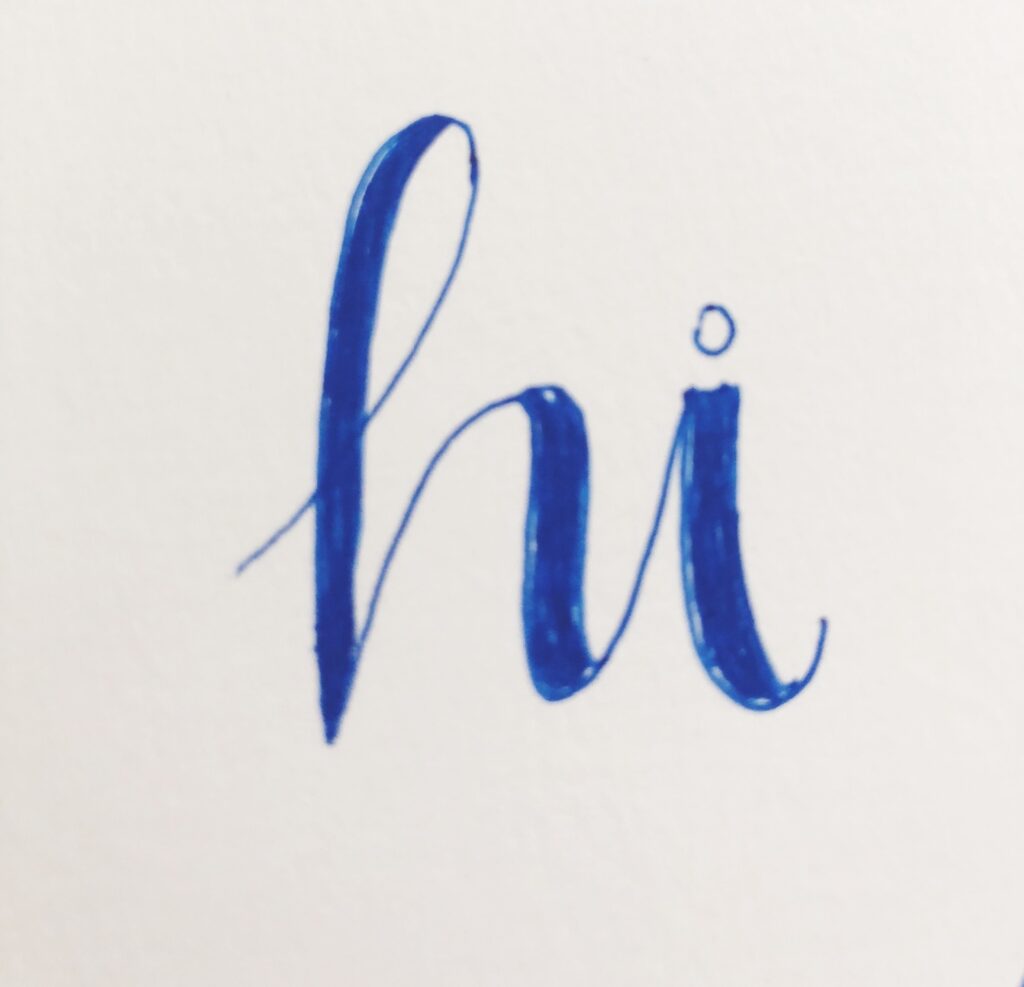
Any way a regular ballpoint pen probably doesn’t have pressure sensitivity so how are we going to get our thick downstrokes.
Well here is a simple three-step picture guide.


CHISEL TIP CALLIGRAPHY
I feel like this is an obvious one so let us get started. Click here for a full tutorial.
When wanting to get your thick downstrokes and thin upstrokes you are going to be wanting to hold your pen differently and learn how to switch between these two different hold or angles you could say.
One is going to be for your upstrokes
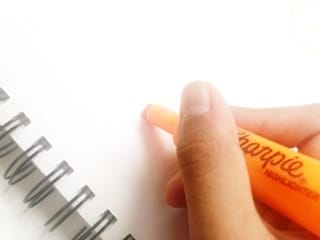
Two are going to be for your downstrokes.
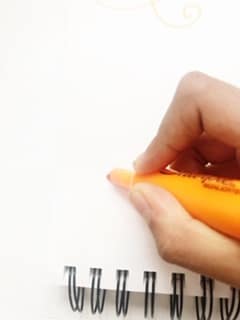
I would just recommend practicing that over and over again witch will then help you learn how to create the seamless look of lettering/calligraphy.
Now we have
LETTERING WITH SHARPIE
There are two main ways you could lettering with a sharpie. One is just to do faux calligraphy witch is the easiest one.
But what you could also do is change the hold of your pen to be able to get the different line variations. Witch is very similar to using the chisel tip marker.
Check out the full tutorial here.
Anyway, you are first going to hold your pen like you regularly would for upstrokes.
Then downstrokes you are going to have your pen more at an angle so that a whole entire of the tip of the pen is touching the page leading for a thick stroke.
Now practice going through these different hand motions.
Final Thoughts
You have just learned what exact pens that you can use for calligraphy when starting.
You have also learned some nice tips and tricks to be able to start learning how to letter with regular everyday utensils that you have lying around at home.
If you have any questions feel free to comment.