Can You Do Lettering With Gel Pens
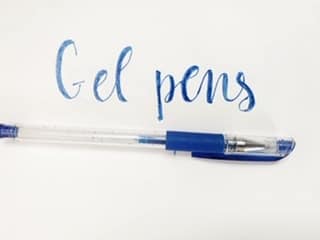
Are you here because you want those glittery designs for your hand lettering and wondering how they do it. Are you also wondering what types of pens they are using? Well, I am going to be explaining everything right now.
So, can you do lettering with gel pens?
Well, let us talk about it. If you are for some reason in a rush let give you the quick and short answer so you will be on your way.
You can totally do lettering with gel pens. It could help you level up on your hand lettering and get those glittery letters that you always wanted.
Then how are you supposed to do this in the first place? Well, that is what I am going to be talking about today in this article.
Let me give you a brief summary of what we are going to be learning today:
- Materials
- Holding The Gel Pen
- Faux Calligraphy With Gel Pens
- Hand Lettering With Gel Pens
Materials
Right now I am just going to be quickly going over all of the different things that you are going to need when starting out lettering with gel pens.
Let’s get started…
GEL PENS
Any type of gel pens is going to be completely fine for this tutorial. If you are wondering I am going to be using the brand gel writer.
Again anything is fine.
PAPER
Any paper would be fine for this tutorial. But if you want to take your lettering to the next level and make it unique in a way I recommend using black paper.
This would help for letters to stand out and especially if you are going to be using glitter gel pens.
Holding The Gel Pen
You might not think about it but I recommend that you actually hold your gel pen in a different way.
The very first thing when holding the gel pen is not to hold it like you would hold a regular pencil when writing things down.
Instead, hold it more at an angle. But not too much at an angle that you can’t control the pen.
Let me show you what I mean.
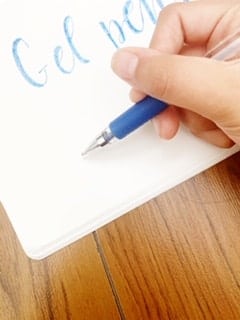
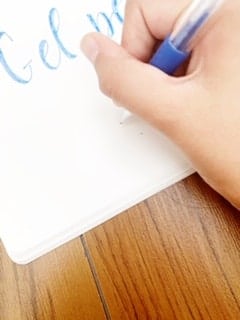
I also recommend that you practice holding it a couple of times before you move on because it is something new that you have to get used to.
Faux Calligraphy With Gel Pen
Faux calligraphy is also considered fake calligraphy in the modern lettering world. This is just going to be our first technique when it comes to doing lettering with a gel pen.
There are so many other ways that you can do it. I have actually been working on my own in-depth tutorial witch you could check out here.
But anyway I am just giving you a little bit of a recap from that tutorial and showing you how you could apply that to a gel pen.
So the very first thing that we need to do is draw out our letters keeping the basic strokes in mind (if you don’t know what I am talking about I am going to be explaining this in the next section).
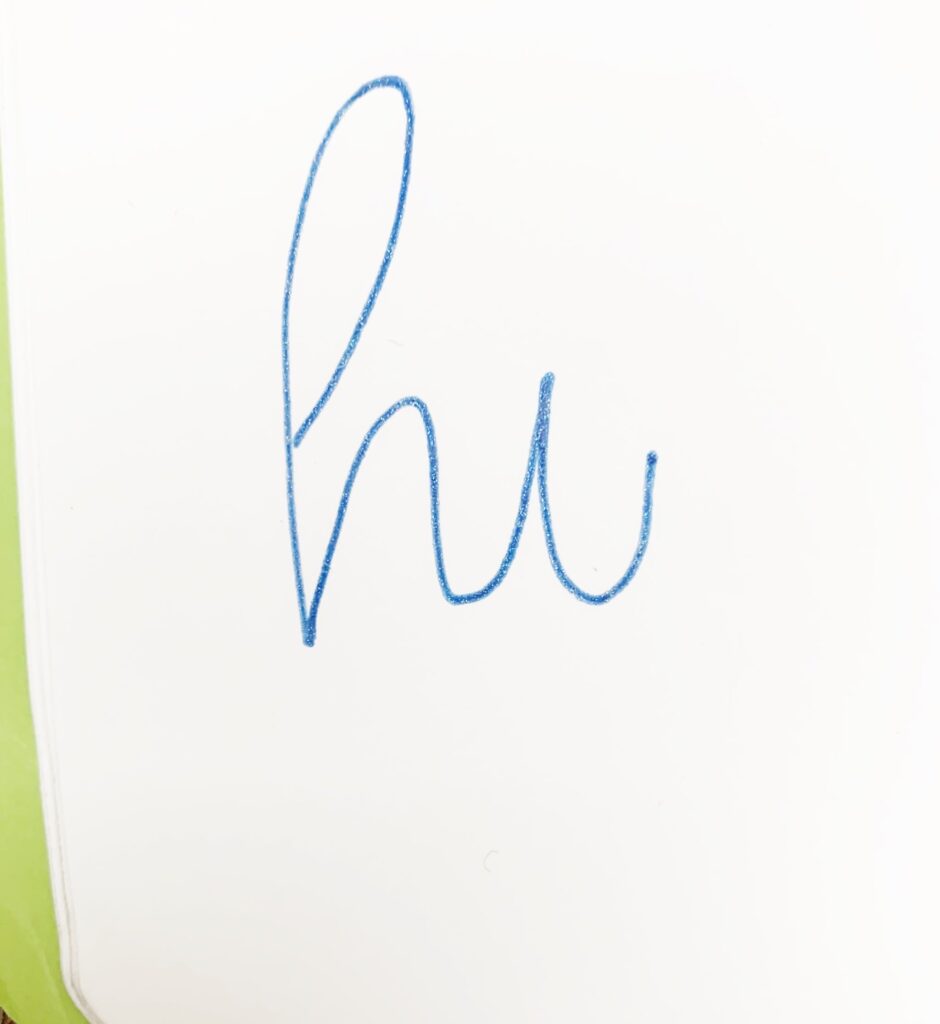
After writing down our word we are going to be creating our second line where we would usually have our downstrokes in lettering.
Here is a picture.
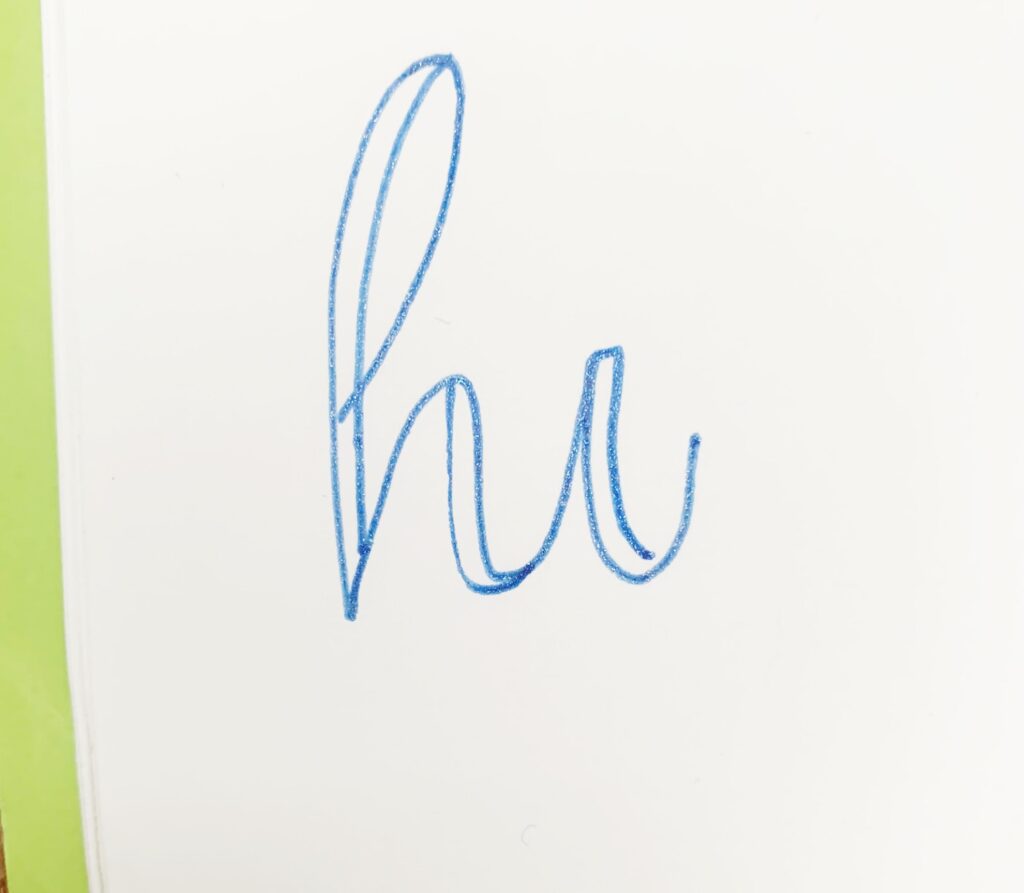
The last step is to either fill in the space, leave like it is, or create your own little patterns inside the empty space.
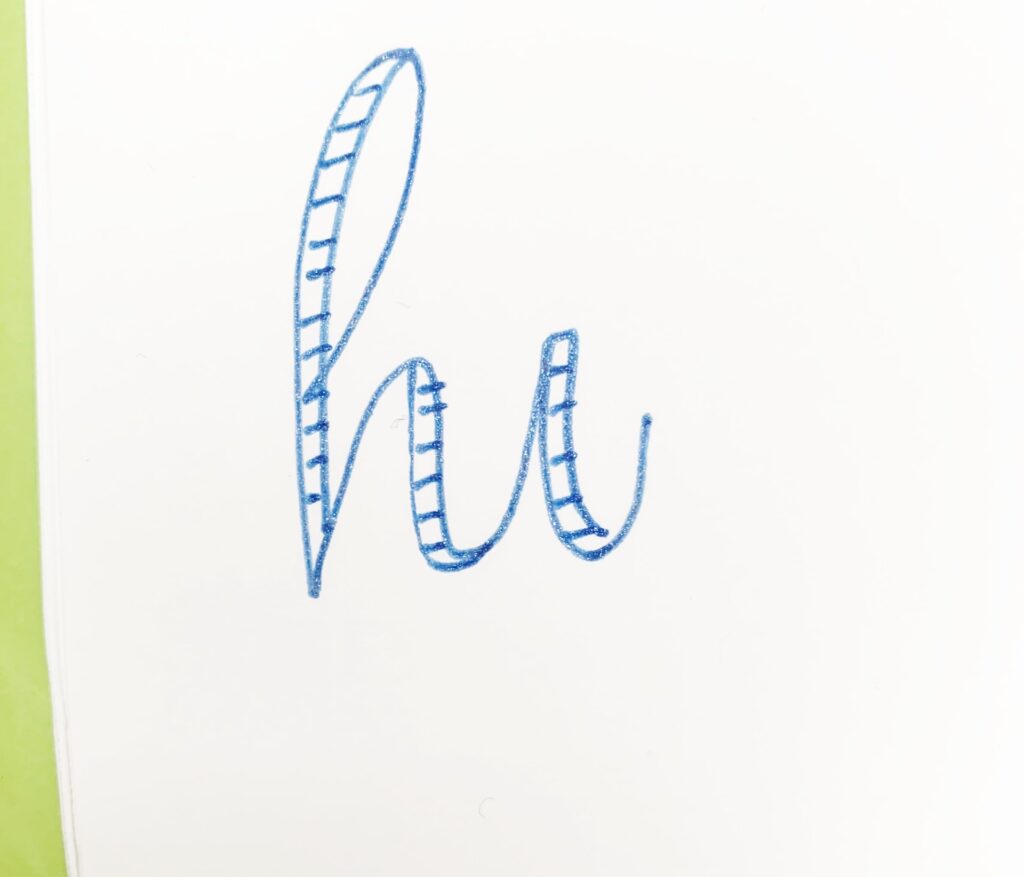
It is as simple as that.
Hand Lettering With Gel Pens
Hand lettering with gel pens in my opinion is not a tough experience. So I am just going to be talking about in this section about a little bit of formatting your lettering and some tips.
So when starting out you might think that you have to write in a specific way to get your beautiful lettering illustrations but you are wrong.
In a lot of the lettering illustrations I use all types of different letters and bring them all together to make something look cohesive and at the same time creative.
So the very first thing that I am going to be talking about today is the very base of calligraphy.
In calligraphy, there are 8 basic strokes and I am going to be showing you them all of them today.
- Upstroke
- Downstroke
- Compound Curve
- Oval
- Ascending Loop
- Descending Loop
- Overturn
- Underturn
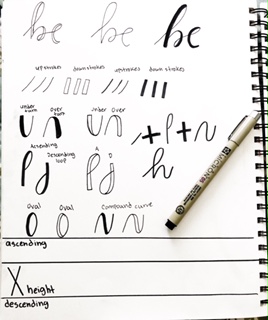
I recommend practicing these strokes every day. If you need any help learning these check out my free practice sheets and guide here.
Now let’s learn how to mix our different colored gel pens together.
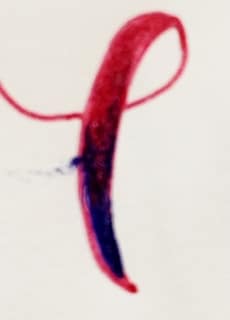
So the very first thing that I would do is do my faux calligraphy technique without filling in the down strokes.
Once we do that I fill it in with the different colors of my choice.
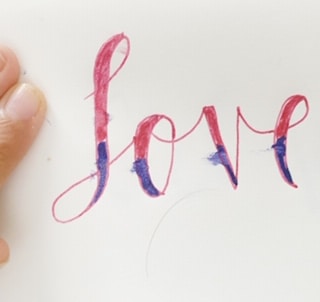
Then start taking out your different colored pens and start mixing the different inks together.
Then you will get your cool ombre effect.
Let us move on…
Formatting is a big part when it comes to learning hand lettering. So I am just going to be teaching the very basics of formatting with specifically a circle. I am going to be showing you everything that you are going to need to know.
CIRCLE
So if we are going to be a lettering in a circle I would recommend for beginners to start off with only there words because that is going to be the simplest design.
But of course, you could do anything you want to do.
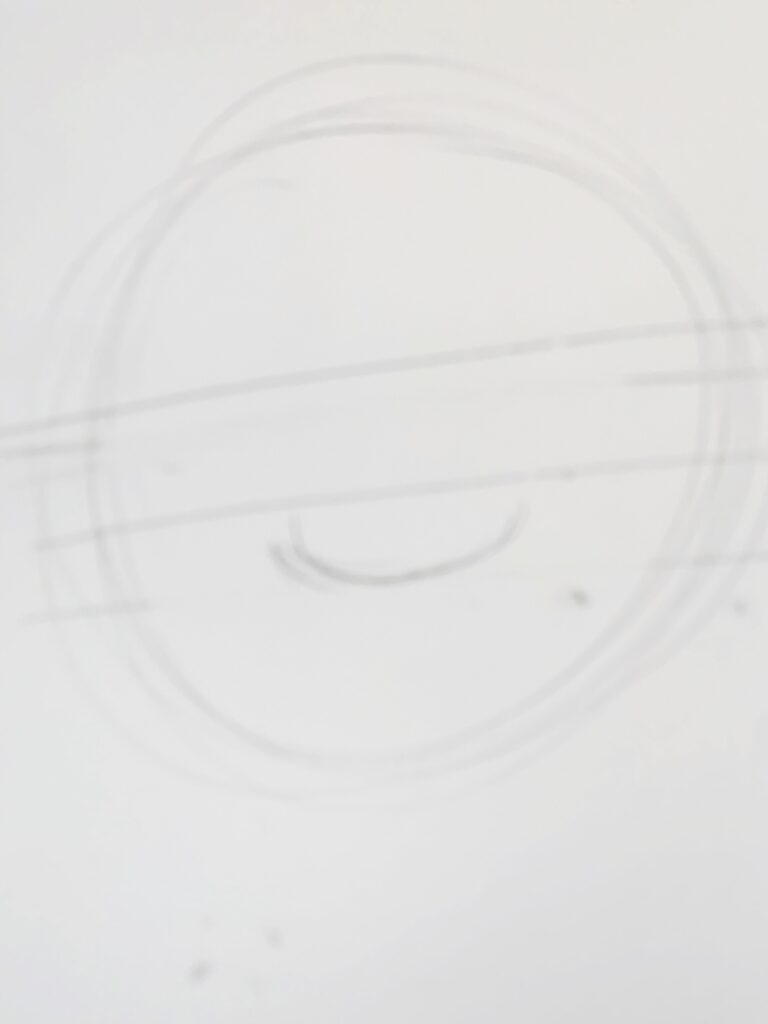
Here once we have our circle down we are going to take a ruler and a little bit above the middle of the cirlce to create a section.
Like this…
After doing this we are going to create sort of a happy face.
Here is a picture.
Then we are going to add in our first outline of a word on top.
Then a second one in the next section.
Then a third one on the bottom.
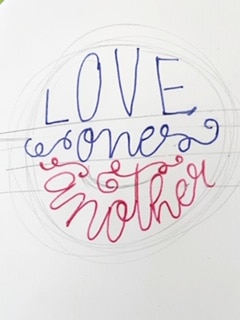
You could also start experimenting at this point on what you might want to change.
After that finish up your illustration and make sure everything is in place.
Final Thoughts
So you have all just learned on how exactly you can do lettering with a regular gel pen.
I also taught you guys a cool way of being able to blend your brush pens to create these awesome lettering illustrations.
Through time and practice, I know for sure you will be able to do hand lettering with a gel pen easily.
Fell free to comment if you have any questions or a hard time with your new modern calligraphy skills.