How Do You Do Calligraphy With Watercolor
So can you do calligraphy with watercolor? Is it going to be too hard to even do? How do you do it? Well, that is what I am going to be showing you in this tutorial.
This is a quick answer to your question, how do you do calligraphy with watercolor?
First, you are going to want to make sure that you have the correct materials to do watercolor calligraphy. Also, you are going to need to learn how to hold the brush and the basic strokes of calligraphy.
Anyway here is just a quick summary of what I am going to be talking about today:
- Supplies for Watercolor Calligraphy
- How to hold a Brush
- Basic Fundamentals of Lettering
- How To Do Water Color Lettering with Regular Brush Pens
Supplies For Watercolor Calligraphy
Right now I am just going to be going over a few supplies that you are going to need for watercolor calligraphy.
First, we have…
PAPER
Getting the right paper, in my opinoin, is one of the key things to starting any type of watercolor. If you’re using just regular printer paper you are not going to get the effect you want when lettering
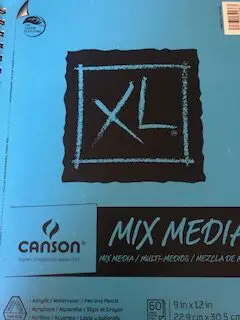
You are going to want some nice thick paper. With any watercolor, I would recommend watercolor paper. Since this is just lettering and not a full watercolor illustration you can get away with using a mixed media pad.
One of my favorites is Canson XL Mixed Media Paper.
Next…
WATERCOLOR
There is a variety of choices you got here. But I recommend if you are on a budget and got into the hobby of lettering you can use your Tombows or any other water-based brush pen for water coloring. (I will explain later).
When it comes to your watercolor paints you could use a lot of different types for calligraphy.
Here are a few options that I think would be great…
- Koi Sakura Water Color Paints (Very vibrant watercolor and this is quite thin paint)
- Winsor Newton Paint Set
Of course, there is so much more so I am just going to give you links to different reviews:
- https://www.jetpens.com/blog/the-best-watercolor-calligraphy-supplies-for-beginners/pt/903
- https://watercolorpainting.com/beginner-watercolor-calligraphy-technique/
BRUSHES
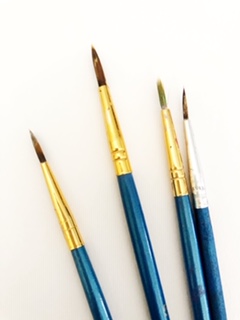
With brushes, you just make sure that it is high quality and is a round/pointed brush.
The number one thing is just to make sure that it is a good quality brush this means that the bristles shouldn’t be falling off.
A high quality brush also doesn’t mean that it has to be expensive.
Here is just some brush that I like to use for my watercolor Calligraphy:
How to Hold A Brush
So you have gotten everything down and now you are wondering how am I supposed to hold a brush to get the effect that I want.
The first thing that I want to say is that it is not the same thing as holding a regular brush pen or calligraphy pen. They are some big differences.
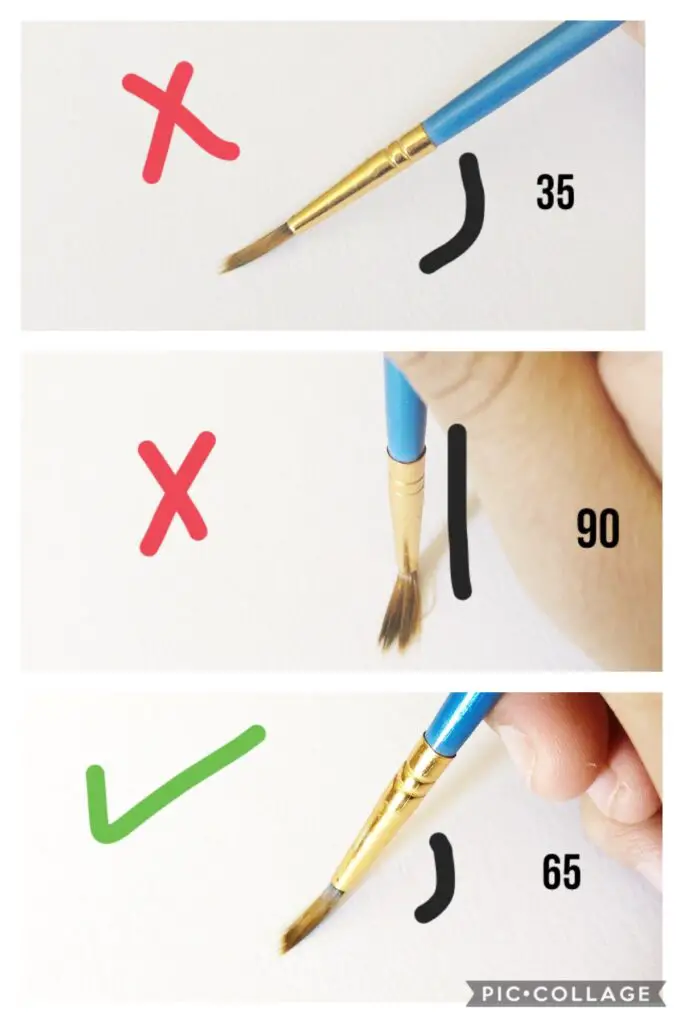
If you have already started lettering with a felt tip brush pen you already know that you should be holding your brush pen at a 45-degree angle to your paper.
But this is different than holding a regular brush. When holding the brush at a 45-degree angle for a beginner it is going to be quite hard to be able to control all of the little bristles.
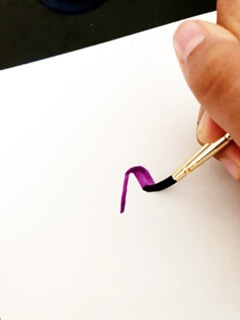
A felt tip is easier to control than a regular brush so I would recommend holding it about 65 degrees to the paper but again not fully upright like you would be holding a pencil.
Here is how you are supposed to be holding your brush when doing watercolor lettering/ calligraphy.
Basic Fundamentals Of Water Color Lettering
Well if you already started getting into lettering with a brush pen or a calligraphy pen you should know the basic lettering/calligraphy strokes. These are just the strokes that you use to form your letters.
The 8 basic strokes are:
- Upstroke
- Downstroke
- Under turn
- Overturn
- Compound Curve
- Oval
- Ascending Loop
- Descending Loop
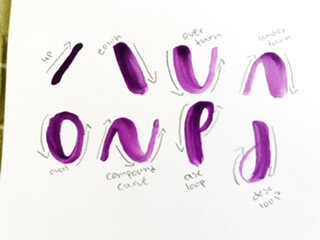
A big rule when doing calligraphy is upstrokes are thin and downstrokes are thick. This means whenever you do an upstroke you are going to put less pressure onto your brush. Whenever you are doing a downstroke you are going to put more pressure onto the brush.

Once you got down the basic strokes you can now use them to start forming your letters. For example, in order to form the lowercase H you have to do an ascending loop and a compound curve.
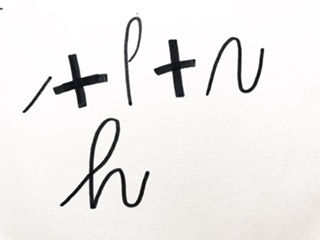
You can now start trying to form all of your letters.
How to Do Water Color Lettering With Regular Brush Pens?

For this little tutorial that I am including in here, you are going to need the materials that I talked about above. Plus your regular watercolor brush pens.
There are also some other things that you re going to need is a plastic bag or a piece of plastic that you can just write on (I Will Explain Later).
STEP 1
The first thing that you are going to want to do is take out your brush pens and just start scribbling all over your piece of plastic or plastic bag.

STEP 2
For this step, you are going to take out a cup of water and dip your BRUSH into the water and just get it nice and wet as if you were getting it ready to dip it into watercolor
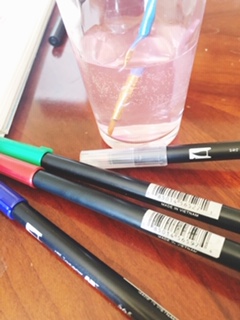
STEP 3
Now we are going to take our brush and put it over the ink that was on the plastic. You would notice that the brush will start to pick up the ink.

STEP 4
Take out your watercolor paper and start practicing watercolor.
This can honestly work with any water-based markers which will help you out if you are on a very tight budget and you cant afford watercolor paint.
You could just use regular water-based markers (like Crayola Markers that you might have lying around) and just start practicing your watercolor lettering.
Conclusion
Now you have just learned all of the basics for watercolor lettering. If you are a beginner and thinking about getting started don’t hesitate, just do it. It is such a great hobby and just take out your brush and watercolors and start illustrating your watercolor lettering pieces.
You got this, just practice and you will become a master at watercolor lettering in almost no time.
If you have any questions or concerns feel free to comment.