Water Techniques With Brush Pens
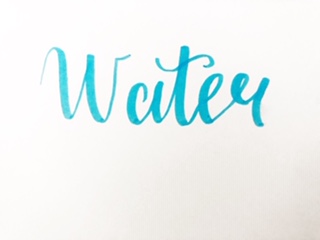
In this lettering tutorial, you are going to learn how to use water with your brush pens. These will include different water techniques with brush pens and ways to create a watercolor with brush pens (or any water-based markers would be fine).
I also find that a lto fo people don’t know that there are water techniques with brush pens so here is just going to be a beginner guide to using water with brush pens or using water for lettering.
Here is just going to be a summary of what we are going to learn today:
- Materials
- Creating Your Own Watercolor With Brush Pens
- Blending Brush Pens With Water
- Lettering Technique With Brush Pens
- Last Thoughts
Materials For Water Techniques
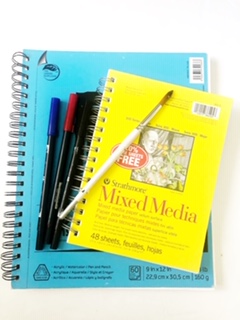
In this section, I am going to be talking about everything that you need for these water techniques.
Here is what I am going to be talking about
- Paper
- Plastic Bag or Brush Pen Blending Card
- Brush Pens
- Brush
- Cup Of Water
PAPER
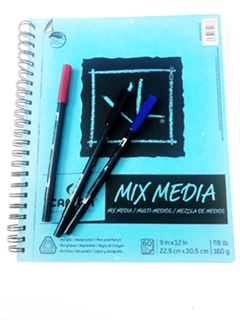
Here since we are technically going to be doing watercolor I would recommend the watercolor paper.
In watercolor, everyone knows that paper is everything. Watercolor always works better with watercolor paper.
Here are just some brands that I would recommend
For some reason, you can’t get this paper or is out of budget your bet is to get some XL Media Paper witch I find somewhat textured but of course not the best paper for watercolor.
PLASTIC BAG OR BRUSH PEN BLENDING CARD
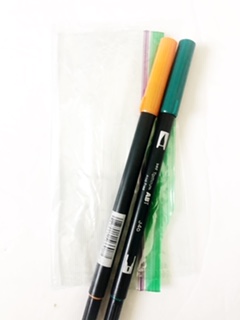
For this, the thing that you are going to need is a piece of plastic or plastic bag.
I will be explaining later what you are going to be using this for.
Of course, if you have brush pen blending cards you could use that instead but I find that if you have a piece of plastic at home you don’t need blending cards.
BRUSH PENS
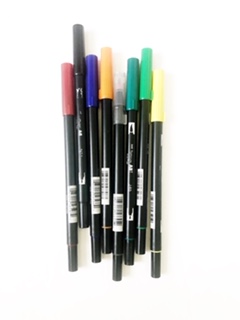
In this lettering tutorial, I am going to be use the Primary Color Tombow Dual Brush Pens.
Honestly, you could use any water-based brush pens that you have at home or any waterbased brush pens.
For example, you could also use Crayola markers if you don’t have brush pens.
BRUSH
We are going to be needing a brush for some of the techniques that I am going to be talking about today.
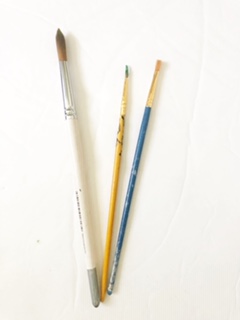
I would recommend using a round pointed tip brush. You could also use any size depending on what size you want your lettering to be or big of the paper that you are going to be using
Here is just a picture of brushes that I use for watercolor and specifically lettering.
CUP OF WATER
This is watercolor so we are going to need water. I would recommend two cups of water one for clean water and one to wash out your brushes.
But one cup of water would be fine.
Creating You Own Watercolor With Brush Pens
The first thing that we are going to do to be able to create a watercolor with our brush pens is our plastic bag.
We are going to be writing all over your plastic bag with your brush pen. You would see that some ink would be left on the plastic bag.
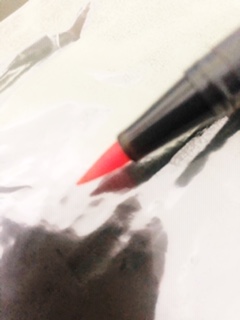
You are going to dip your brush into the water and make sure that it doesn’t have too much water.
Then you would collect up the ink from the plastic bag onto your brush.
Then take out your watercolor and you will notice that you have now just gotten a watercolor effect.
You could basically create a color pallet by either using your piece of plastic or Tombow blending card.
This is just a simple technique or you could brush pen hack that you can do with just your brush pens and a piece of plastic.
Blending Brush Pens With Water
Right now I am going to be teaching you how to blend your brush pens with water. There are just a few things that I am going to say.
When using water to blend your brush pens you are going to get a lighter shade of the original color.
Second, this will be more helpful when creating a watercolor background for your calligraphy/lettering.
Ok, let’s get started…
First, we are going to lie out of our two colors or more than two colors with just writing down with your brush pens. If it is more than two colors be aware to make sure that you are not going to be getting a muddy color when blending.
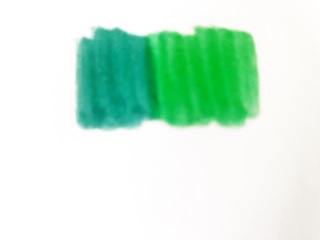
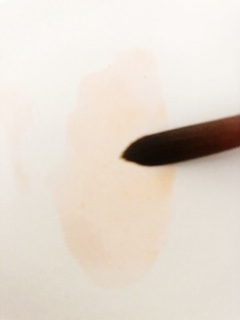
Now you are going to get your brush and then dip it into your water and start putting a coat of water over what you did before.
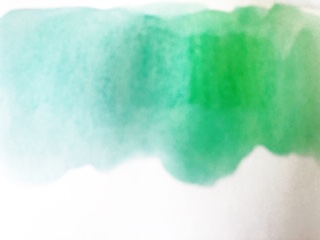
Keep on doing that and you will see that the ink will start to spread leading for a watercolor effect.
Then you could start blending.
Final product.
Lettering Technique With Brush Pens
Here we are going to start off by taking out our water and dipping out brush pen into our clear water.
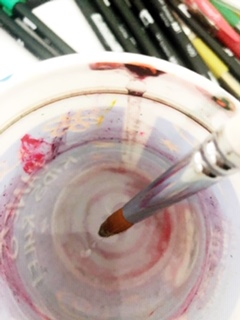
After that, with the water, we are going towrite our lettering illustrations.
Once that is done you are either going to do the first technique that I talked about to be able to create your own watercolor or use your actual brush pens.
( I would recommend the technique that I talked about).
Ok, we are going to take the watercolor that we created with our brush and then dip it into the sections of water that we had.
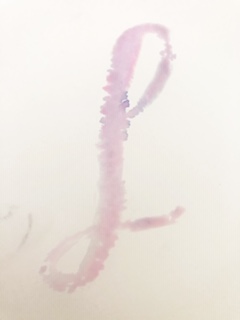
Here we are going to be creating Ti Dy effect or Galaxy effect depending on the different colors that you are going to be using.
Here is the final product.
Final Thoughts
You have just learned some basic water techniques that yo can use with your brush pens to create nice watercolor lettering or regular watercolor art.
If you have any questions feel free to comment.
Again I tried to be able to use supplies that you can be able to find at home like regular water-based markers or a plastic bag.
These water brush pen techniques will help you be able to create different types of lettering or brush pen art to.