13 Creative Hand Lettering Ideas

In this tutorial, I am going to be talking about creative brush lettering ideas that you can use in your lettering to create cool looking lettering designs. I have been there when I can’t come up with any new cool looking lettering, so I am here to help you out.
Here is just a summary of all of the designs that I am going to be showing you today:
- Cool Blending Styles
- Shadow Lettering Styles
- More Cool Ideas
Cool Blending Styles
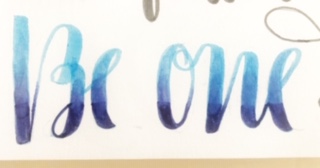
- Moving from one color to another.
So you might think that this is going to be quite hard to do but here is a small hack. Take your two brush pens and open one brush pen and start writing on the other felt tip from the brush pen.
The brush pen tip would collect the ink. So when you start writing you will notice that it is a different color and then little by little will go back to its original color.
(This will work with any water-based markers)
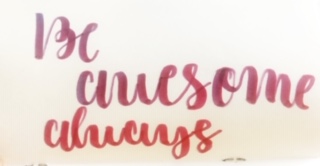
- Fade out
For this, you are going to need a brush, a plastic bag, and your brush pens. First going to want to write all over your plastic bag with your brush pen.
Second, you are going to want to take out your brush and water and collect up the ink from the plastic bag.
Third start creating your lettering illustration. You will notice that the brush will run out of ink leading, for your letters to fade out.
If you don’t have a brush you can always use a brush pen blender.
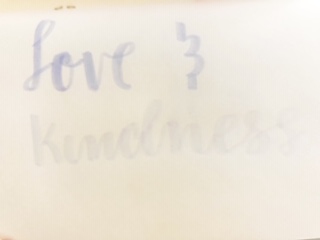
- Do Regular Blending
Ok, you might be a little shocked that I said that but if you want to get an extra flare into your lettering you could always do more than three colors when blending.
Blending can always be used with either a blender or the brush pens themselves (like you would do with regular alcohol markers).
Just adding that little ombre effect can create the last touch to make your lettering unique.
Shadow Lettering Styles
- Faux Calligraphy Shadows
Where you would really put your regular shadows in lettering you could just put a line like you would do with regular faux calligraphy without shading it in. Here let me show you:
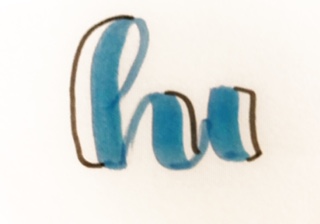
- Ribbon Style
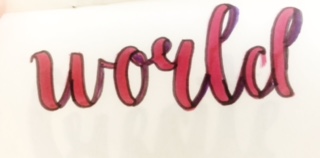
Basically here you are going to get a cool lettering illustration that looks like it is shaped like a ribbon. All of the downstrokes are your high lights and all of your upstrokes are your shadows.
First, you are going to want to write out our word with a regular brush pen.
Then you are going to take a pen or pencil and draw in where the ribbon will be.
After that with all of the upstrokes you are going to color it in with a darker color.
- Thick lines
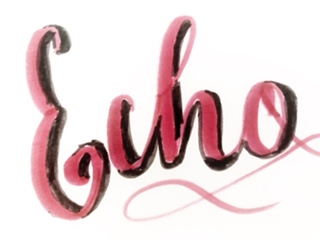
Learning how to create nice thick shadows can create some beautiful letters. Being able to instantly add shadows to your letter can also be a challenge.
A nice touch wold be to not just add shadows but some highlights.
Let me show you what I mean:
- Line Shadows
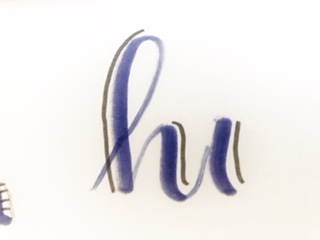
Here is just a basic concept, you are going to illustrate your phrase like you would do normally.
With a pencil draw where you would like to have your shadows. With your pen start drawing some lines.
More Cool Ideas
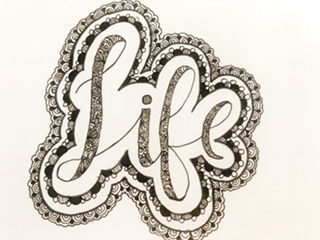
- Faux Calligraphy Details
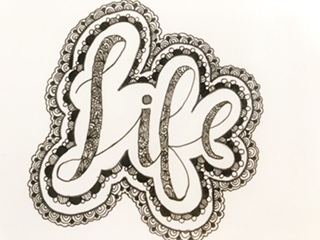
Here you are just creating lettering illustrating with faux calligraphy. Instead of filling in your downstrokes, you are going to be filling it in with cool designs.
- Half Faux Calligraphy Design
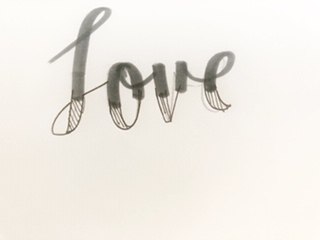
Here I would take out your pencil and sketch out your design. Once you do that write your letters halfway down.
Then with the rest you are going to draw out with your pen.
You could either shad in the downstrokes or add some little designs.
- Highlights
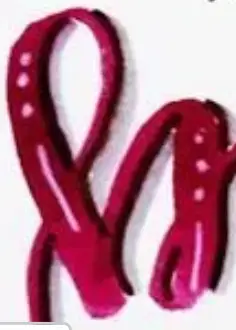
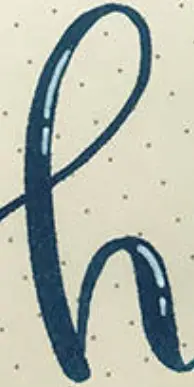
Here are just some multiple ways that you can be adding some high lights to your lettering pieces (with a white pen or acrylic paint). These you don’t even have to be high lights.
- Double Lettering
Here we are just going to write out our lettering piece as we would do normally. Then we could take out a pen of our choice and write inside the word. Let me show you what I mean.
- Outline Your Calligraphy
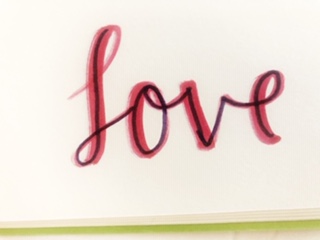
This is quite simple all of you have to do is just outline your word or phrase with any color that you choose.
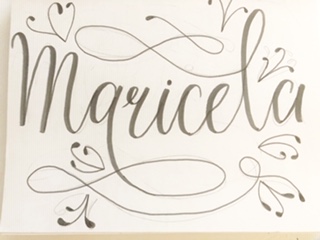
- Add some nice designs around your Lettering
There is nothing to really explain here. Let me just show you some simple examples of what I mean for your inspiration.
Bonus Tip
One of the easiest ways to have cool creative lettering illustrations is by either adding filigree or flourishing to your calligraphy.
If you are wanting to add flourishes check out my full tutorial all about it here.
Conclusion
You have just now learned some awesome lettering ideas to add to your lettering illustrations. These 13 lettering ideas hopefully will help you out.
If you have any questions or another lettering ideas comment.